
| Control details |
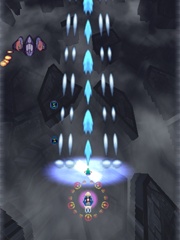
| Main weapon: Breakless Chain | |||||||||
| Chain-fires large numbers of bullets. A basic weapon, effective at all ranges.
| |||||||||

| Fires in the direction of the Misteltoe, from the EXECUTOR. The Misteltoe positions herself on an ellipse around the EXECUTOR, so for diagonal fire she should be slightly more than 45 degrees from the horizontal.
Fires automatically as long as the button is held. |
Damage rises with SOL level. |
Rate of fire rises with LUNA level. |
Hold the main shot button for a short while and the weaker projectiles | will be fired from farther out to the sides, covering a larger area. Also, as the space between bullets has increased, there are two more sources. Fire will return to normal if the button is released or if subweapon is pressed. | ||||

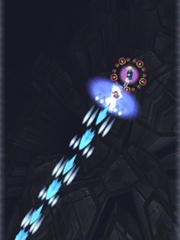
| Main weapon 2: Breaking Chain | |
|
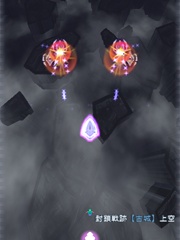
| When LUNA level is at maximum and an enemy is directly in front of the EXECUTOR (the enemy will be marked with an orange ring), press main shot twice rapidly to release a powerful, destructive attack. |
| The projectiles released are far faster than any other around, (they will outpace normal bullets fired immediately before) and upon hitting they will explode, clearing all enemy bullets from the area. This attack consumes all LUNA. Although LUNA recharges slowly while firing the main weapon, it reloads 11 times faster when not firing the main weapon. | |
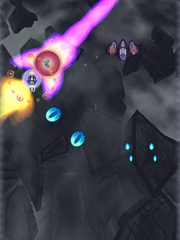
| Subweapon: Misteltoe SARABA-MARU | |
|
| Hold subweapon and SARABA-MARU will deploy to the EXECUTOR's current location, performing a mid-ranged, multi-directional attack. A circle will appear, centered on the Misteltoe. She will attack up to five enemies within the circle, in reverse order of distance. She cannot lock onto a single enemy multiple times, but she will deal more damage if she is attacking fewer targets. The attack ends when the button is released. |
|
| She will deal more damage if the EXECUTOR is within the circle. |
|
|
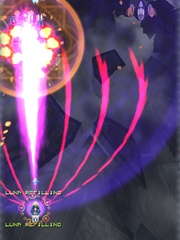
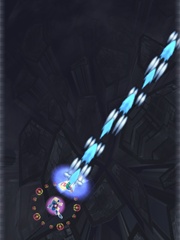
Hold subweapon and main shot for a close-ranged, Lance Device attack. The Lance Device attacks in a set direction (purple) and the reverse (yellow). The yellow flame deals very little damage, but penetrates enemies. In this case, the Misteltoe adheres to a circular orbit, and may be positioned at 45 degree intervals (to minimize blindspots, as is fit for close battle). |
|
| Press a direction key while activating the Lance Device to change the Misteltoe's position. |
|
| The Misteltoe may collect relics. |
|
| Press the slow movement button while holding a direction to move the Misteltoe in the opposite direction. This function should be useful for adjusting her position without drawing near the enemy. |
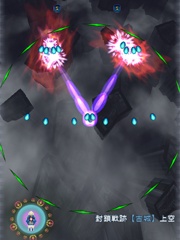
| : Suppression Radius | |
| Only active while using the subweapon. Its position and size vary slightly between the Anchor Device (subweapon) and the Lance Device (subweapon+main shot), so be mindful. It is circular with the Anchor Device, but with the Lance Device it extends only in the direction with the lance, leaving the flanks defenseless. | |
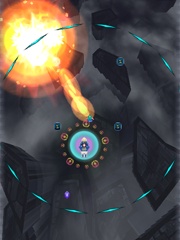
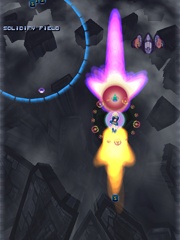
| Discharge: Curtain Raiser | |||||||
|
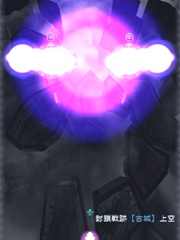
| Consumes all SOL to burn the area. | ||||||
| Hold the button to move the projectile forward. It will move straight forward until the button is released, and then explode.
Only usable when SOL level is at maximum. |
Clears enemy bullets, and grants invincibility after use (with a slight delay). |
Lowers STELLA level in relation to the number of bullets destroyed and current STELLA level. | | ||||
| Discharge: Bacillus' Cloak | |
|
| Press the discharge button only briefly, and then release. |
| It does not destroy bullets like other discharges, instead only granting invincibility. | |